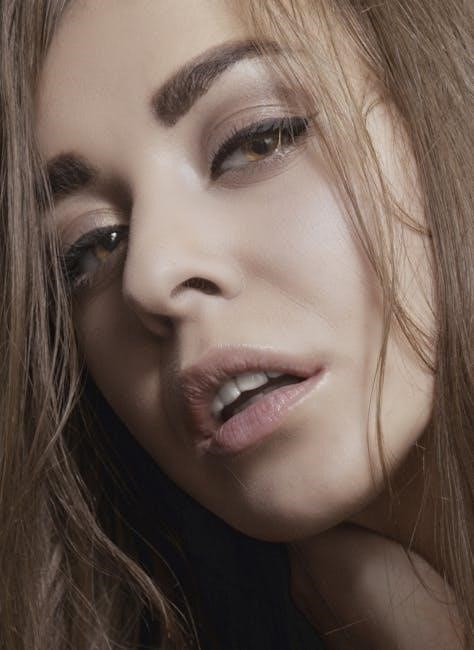
Today’s beauty landscape embraces convenient at-home solutions, like 1000 Hour dye, offering a cost-effective alternative to salon treatments for achieving dramatically enhanced lashes and brows.
What is 1000 Hour Lash and Brow Dye?
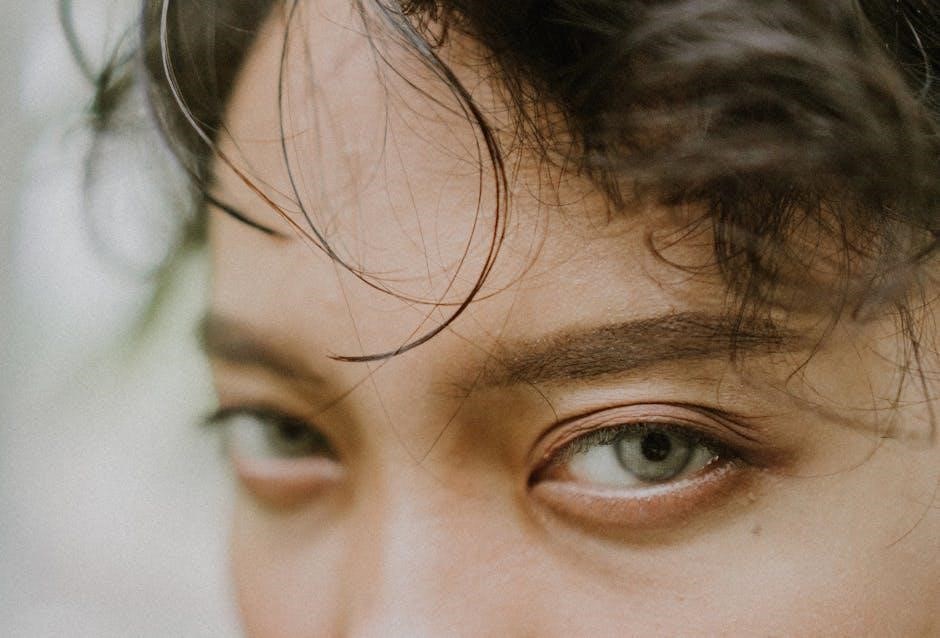
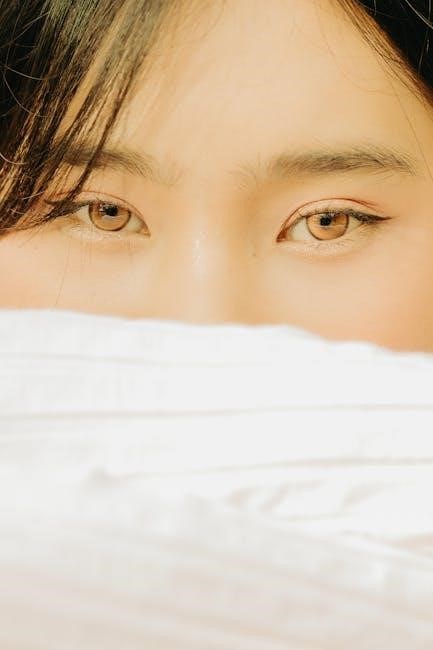
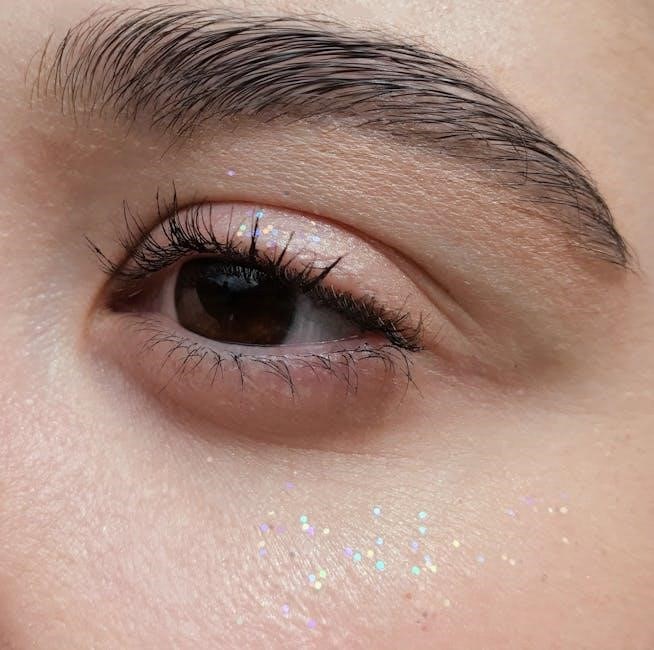
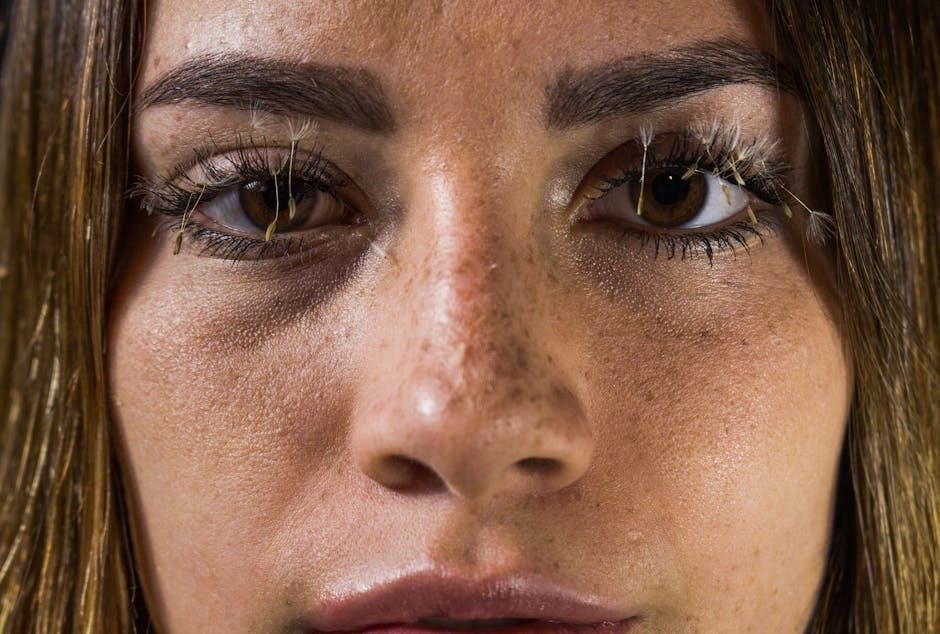
1000 Hour Lash and Brow Dye is a popular, semi-permanent dye designed for at-home use, promising to darken and define lashes and eyebrows for an extended period. Unlike traditional lash lifts or extensions, this dye directly colors the existing hairs, creating a fuller, more noticeable appearance.
Recent trends, fueled by celebrity influence and a desire for low-maintenance beauty routines, have driven its popularity. It’s presented as a budget-friendly alternative to professional salon treatments, allowing individuals to achieve a similar aesthetic in the comfort of their own homes. However, careful application is crucial, as demonstrated by tutorials like Amy Clark’s guide, to avoid potential mishaps.
Benefits of Using 1000 Hour Dye
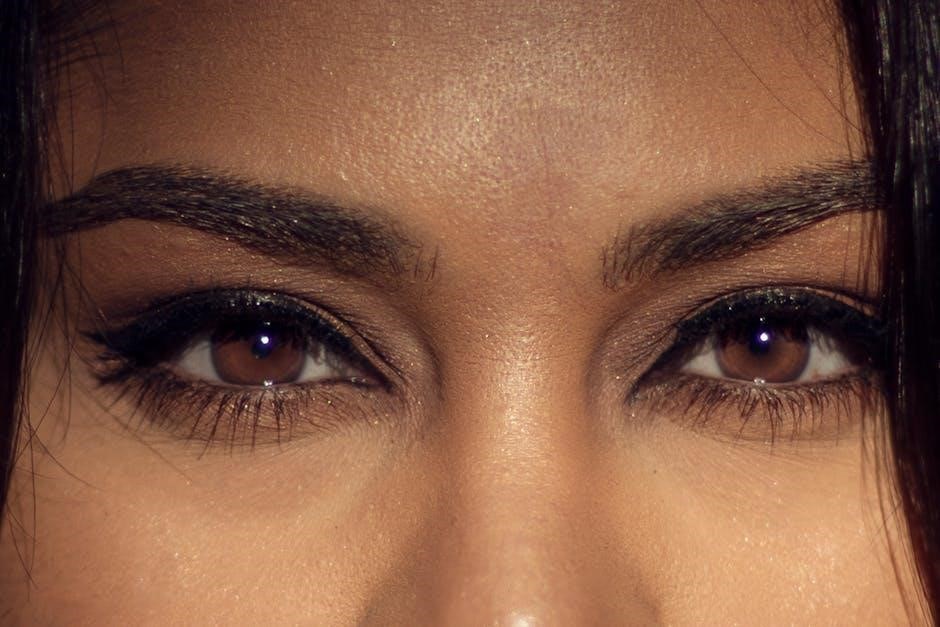
The primary benefit of 1000 Hour dye lies in its convenience and cost-effectiveness. Avoiding frequent salon visits saves both time and money, particularly appealing amidst current economic pressures. The dye delivers visibly darker, fuller lashes and brows, reducing the need for daily mascara or brow pencils.
This results in a streamlined makeup routine and a naturally enhanced appearance. The semi-permanent nature of the dye offers a long-lasting solution, minimizing daily touch-ups. It’s a popular choice for those seeking a low-maintenance beauty boost, aligning with the growing trend of achieving impactful results with minimal effort, as highlighted in recent lifestyle discussions.
Understanding the Risks
While convenient, using 1000 Hour dye carries potential risks. Allergic reactions are a primary concern, emphasizing the crucial need for a patch test before full application. Irritation, redness, or swelling can occur, even without a prior history of sensitivities.
Improper application poses a risk of chemical burns to the delicate eye area. Accidental contact with the eyes can cause severe discomfort and potential damage. It’s vital to follow instructions meticulously and exercise extreme caution. Individuals with sensitive skin or pre-existing eye conditions should consult a professional before use, prioritizing safety above all else.
Preparation is Key: Patch Test & Supplies
Success hinges on preparation! A patch test confirms sensitivity, while gathering supplies – dye, developers, applicators, and protection – ensures a smooth, safe dyeing process.
Performing a Patch Test
Prioritize safety with a crucial patch test. Apply a tiny amount of the mixed dye behind your ear or on your inner arm. Cover the area and leave it undisturbed for at least 48 hours. Carefully monitor for any signs of irritation, redness, swelling, or itching.
If any adverse reaction occurs, do not proceed with the lash or brow dyeing process. A negative result – no reaction – indicates you can likely proceed, but always remain vigilant. This step minimizes the risk of a severe allergic reaction around your delicate eye area. Remember, caution is paramount when dealing with chemical dyes.
Gathering Necessary Supplies
Successful dyeing requires preparation! You’ll need the 1000 Hour Lash & Brow Dye kit, including dye color, developer, and application tools. Essential additions are a mixing bowl (non-metallic!), an application brush – micro brushes are ideal – and petroleum jelly.
Also gather cotton pads, a timer, and disposable gloves. Protecting your skin is vital, so have cleansing wipes readily available. A mirror is crucial for visibility. Ensure adequate lighting for precise application. Having all supplies organized beforehand streamlines the process and minimizes potential mishaps during application.
Protecting Your Skin & Work Area
Safety first is paramount! Before starting, apply a generous layer of petroleum jelly around your lash line and eyebrows to create a protective barrier against dye staining the skin. Cover your work surface with old towels or newspaper to prevent accidental spills from causing damage.
Wear old clothing you don’t mind potentially staining. Ensure good ventilation in the room. Keep a damp cloth nearby for quick clean-up of any dye that gets onto unintended areas. Protecting both your skin and surroundings minimizes risks and ensures a cleaner, more controlled dyeing experience.
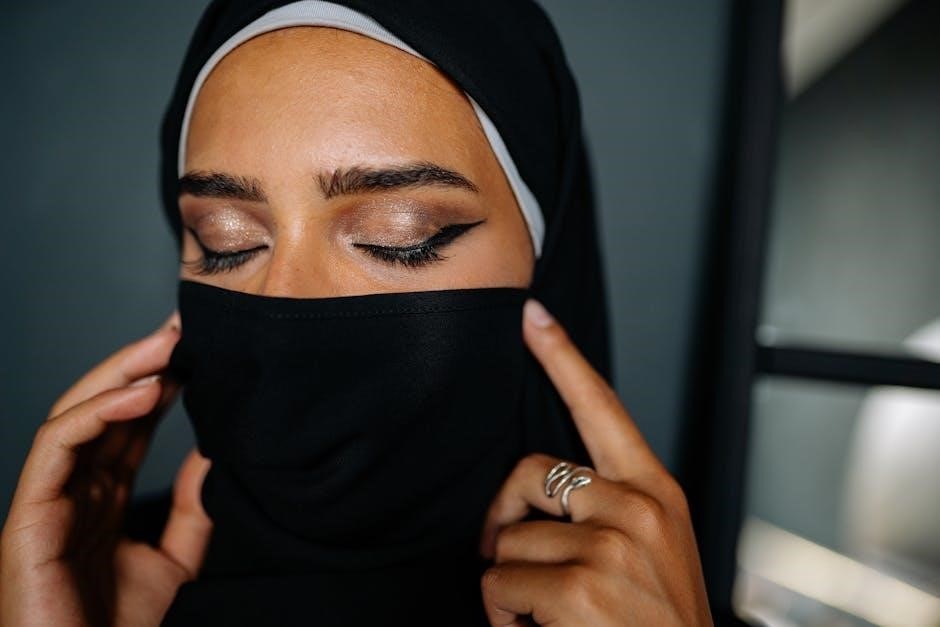
Step-by-Step Lash Dyeing Instructions
Achieving a professional look at home requires careful application. Amy Clark demonstrates a safe method for tinting eyelashes, avoiding irritation and maximizing results.
Preparing the Dye Mixture
Precise mixing is crucial for optimal color and safety when using 1000 Hour dye. Carefully follow the manufacturer’s instructions, typically involving combining the dye cream with a developer solution. Ensure thorough blending using a non-metallic applicator – a plastic or glass rod works best – until a smooth, consistent paste is achieved.
Avoid using metal tools, as they can react with the dye components. The correct ratio of cream to developer is vital; too much developer can lead to irritation, while insufficient developer may result in a weak, uneven color. Always prepare the mixture immediately before application to maintain its potency and effectiveness.
Applying Dye to Lower Lashes
Begin with the lower lashes, applying a thin, even coat of the prepared dye mixture using a micro-applicator or a clean mascara wand. Gently coat all lower lashes from root to tip, being careful to avoid direct contact with the eye. Work quickly and efficiently to ensure uniform coverage before the dye begins to dry.
A small amount of petroleum jelly applied to the skin directly beneath the lower lashes can act as a protective barrier, preventing staining. Avoid excessive application, as this can cause the dye to smear. Immediately wipe away any dye that gets onto the skin with a damp cotton swab.
Applying Dye to Upper Lashes
Carefully apply the dye to the upper lashes, again using a micro-applicator or clean wand. Gently lift the upper eyelid and coat the lashes from root to tip, ensuring complete coverage. Work in sections to maintain control and prevent smudging. Avoid getting dye in the eye – immediate rinsing is crucial if this occurs.
Similar to the lower lashes, a protective barrier of petroleum jelly beneath the upper lashes can prevent skin staining. Be extra cautious during this step, as the upper lashes are closer to the eye. Wipe away any stray dye immediately with a damp cotton swab for a clean result.
Step-by-Step Brow Dyeing Instructions
Achieving perfectly tinted brows requires careful preparation and precise application of the dye mixture, focusing on shaping and defining the brow line effectively.
Preparing the Brows for Dye
Before applying any dye, meticulous brow preparation is crucial for optimal results and skin protection. Begin by thoroughly cleansing the brow area to remove any makeup, oils, or skincare residue. A gentle cleanser or micellar water works effectively.
Next, protect the surrounding skin with a barrier cream, like petroleum jelly, ensuring it doesn’t interfere with the dye’s contact with the brow hairs themselves. This prevents unwanted staining of the skin. Carefully comb the brow hairs into their desired shape, as the dye will set them in this position.
Ensure the brows are completely dry before proceeding to the dye application step; moisture can dilute the dye and affect the color outcome.
Applying Dye to the Brows
With brows prepped, carefully apply the 1000 Hour dye mixture using a microbrush or applicator wand. Start at the inner corner of the brow and work outwards, ensuring every hair is fully coated. Pay close attention to sparse areas, building up the dye gradually for even color distribution.
Avoid getting dye on the skin, as it will cause staining. If accidental contact occurs, wipe it off immediately with a damp cotton swab. Once the brows are fully saturated, proceed to the brow tail application, ensuring complete coverage for a uniform, defined look.
Dyeing Brow Tail
The brow tail often requires extra attention for optimal color deposit. Using the applicator, focus on the outer edges, working in the direction of hair growth. This ensures the dye penetrates effectively, creating a defined and natural-looking arch. Apply a slightly more generous amount to the tail if it’s naturally lighter or sparser.
Continuously check for even saturation, adding more dye as needed. Avoid overlapping onto the surrounding skin to prevent unwanted staining. A well-dyed brow tail frames the face beautifully, completing the overall brow enhancement process.
Timing and Removal
Precise timing is crucial for optimal color development and minimizing irritation. Follow the recommended processing time closely, then remove the dye gently and thoroughly.
Optimal Dye Processing Time
Determining the ideal processing time is paramount for achieving desired results with 1000 Hour dye. Generally, for lashes, a processing time ranging from 10 to 15 minutes is recommended, while eyebrows typically require a shorter duration of 5 to 10 minutes.
However, individual hair thickness, color intensity preference, and prior dye history can influence this timeframe. Always begin with the lower end of the recommended range and carefully monitor the color development.
Avoid exceeding the maximum recommended time to prevent potential irritation or damage. Regular checks during processing will ensure optimal color without compromising lash or brow health.
Safe Dye Removal Techniques
Gentle removal is crucial after the optimal processing time. Begin by using a damp cotton pad to carefully wipe away the dye from the lashes and brows, moving in a downward direction to avoid irritation.
Avoid harsh rubbing or scrubbing, as this can cause discomfort and potential damage. If dye persists, gently repeat the process with fresh, damp cotton pads.

Ensure all traces of dye are removed to prevent staining of the surrounding skin. Follow up with a cool water rinse to finalize the removal process and soothe the treated areas.
Post-Dye Care & Precautions
Following dye application, avoid applying oil-based makeup, lotions, or cleansers to the treated areas for at least 24-48 hours to maximize color retention. Refrain from swimming, saunas, or excessive sweating during this period, as these can accelerate dye fading.
Minimize direct sun exposure, as UV rays can also diminish the color intensity. If any irritation occurs, discontinue use and consult a healthcare professional.
Avoid harsh rubbing or pulling at the lashes or brows. Gentle handling will help prolong the results and maintain the health of your natural lashes and brows.
Troubleshooting Common Issues
Addressing unexpected results is crucial; too light a shade may require longer processing, while a dark shade needs immediate removal. Irritation demands prompt attention.
Dye is Too Light
If the dye doesn’t achieve the desired darkness, several factors could be at play. Insufficient processing time is a primary culprit; carefully reassess the recommended duration and consider a brief extension, monitoring closely for any adverse reactions.
The dye mixture itself might be the issue. Ensure precise measurements of both the developer and the tint were followed during preparation. A weak or expired developer can significantly impact color intensity. Additionally, thoroughly clean lashes and brows are essential for optimal dye absorption – residual oils can hinder the process.
Finally, individual lash and brow color can influence the outcome; lighter natural tones may require multiple applications or a stronger dye formulation (always within safe limits!).
Dye is Too Dark
Achieving a shade darker than intended can be alarming, but often correctable. The most common cause is exceeding the recommended processing time. Immediate action is crucial: thoroughly rinse the dyed area with cool water, gently removing as much dye as possible.
Avoid harsh scrubbing, which can irritate the skin. A mild cleanser can aid in the removal process. If the color remains excessively dark, refrain from further attempts at self-correction and consult a professional lash technician.
Preventative measures include strictly adhering to the specified timing and performing a meticulous patch test beforehand to gauge your skin’s sensitivity and the dye’s intensity.
Irritation or Allergic Reaction
Even with a patch test, reactions can occur. Symptoms range from mild redness and itching to severe swelling and discomfort. Immediately rinse the affected area with copious amounts of cool water for at least 15-20 minutes. Discontinue use instantly and avoid rubbing your eyes or brows.
If irritation persists or an allergic reaction develops (hives, difficulty breathing), seek immediate medical attention. Antihistamines can provide temporary relief from mild symptoms, but professional evaluation is vital.
Always prioritize safety; a compromised eye area requires prompt care. Future use of the dye is strongly discouraged if a reaction occurs.
Maintaining Your Results
Color longevity varies, typically lasting several weeks. Avoid oil-based products and harsh cleansers to prolong the dye’s vibrancy, and re-dye when fading occurs.
How Long Does the Dye Last?
The impressive longevity of 1000 Hour Lash and Brow Dye is a key selling point, promising results that endure far beyond traditional tinting methods. While marketed as “1000 Hour” dye, realistic expectations are crucial. The actual duration varies based on individual factors like hair growth cycle, skin type, and exposure to environmental elements.
Generally, users can anticipate noticeable color retention for 6-8 weeks, significantly longer than salon tints. However, the intensity gradually fades over time. Regular exposure to oil-based products, harsh cleansers, and excessive rubbing can accelerate fading. Maintaining a gentle skincare routine and minimizing these factors will help maximize the dye’s lifespan, ensuring consistently bold lashes and brows.
Tips for Prolonging the Color
To maximize the lifespan of your 1000 Hour Lash and Brow Dye, adopt a color-conscious aftercare routine. Avoid oil-based makeup removers and cleansers, as oil breaks down the dye molecules, accelerating fading. Opt for gentle, water-based alternatives instead. Minimize harsh exfoliation around the brow area, as this can also strip color.
Protect your lashes and brows from prolonged sun exposure, which can contribute to color loss. Consider using a lash and brow serum to nourish the hairs and promote healthy growth, indirectly supporting color retention. Lastly, avoid excessive rubbing or touching, as friction can diminish the dye’s intensity over time, keeping your look vibrant.
When to Re-Dye
Determining the optimal re-dye schedule depends on individual hair growth cycles and desired intensity; Generally, lashes require touch-ups every 6-8 weeks, as they naturally shed and regrow. Brows, with slower growth, typically need re-dyeing every 3-4 weeks to maintain fullness and color vibrancy.
Observe your lashes and brows closely; when you notice significant fading or new, undyed growth appearing, it’s time for a refresh. Avoid over-processing by adhering to recommended dye processing times. Consistent, timely re-dyeing ensures a consistently polished and defined look, preventing a patchy or uneven appearance.